A real lens like this
A 3D-printed clear lens, about 40 mm across, throwing the character 光 ("light") onto a wall.
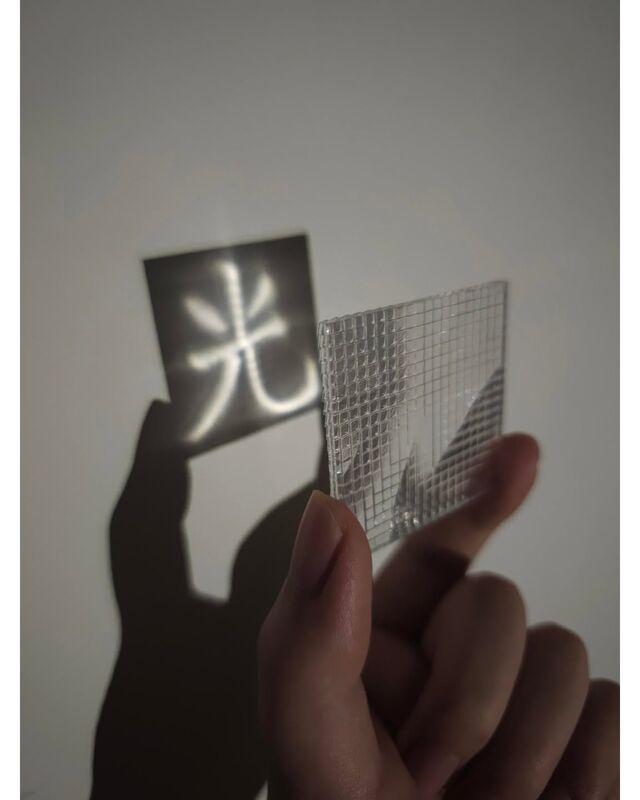
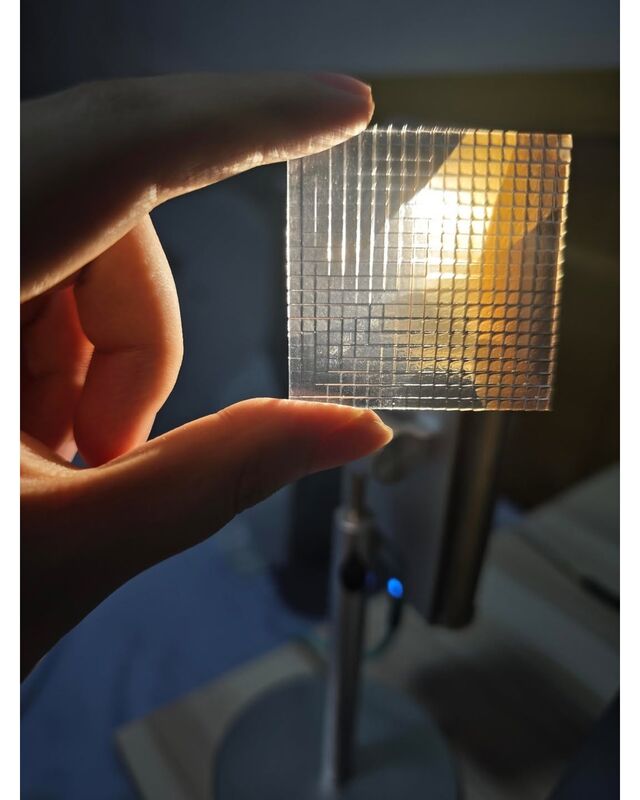
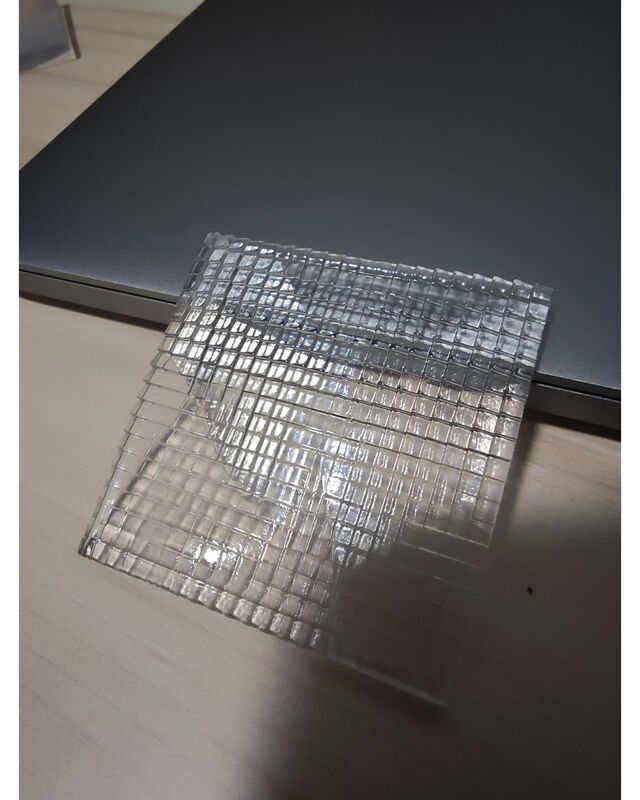
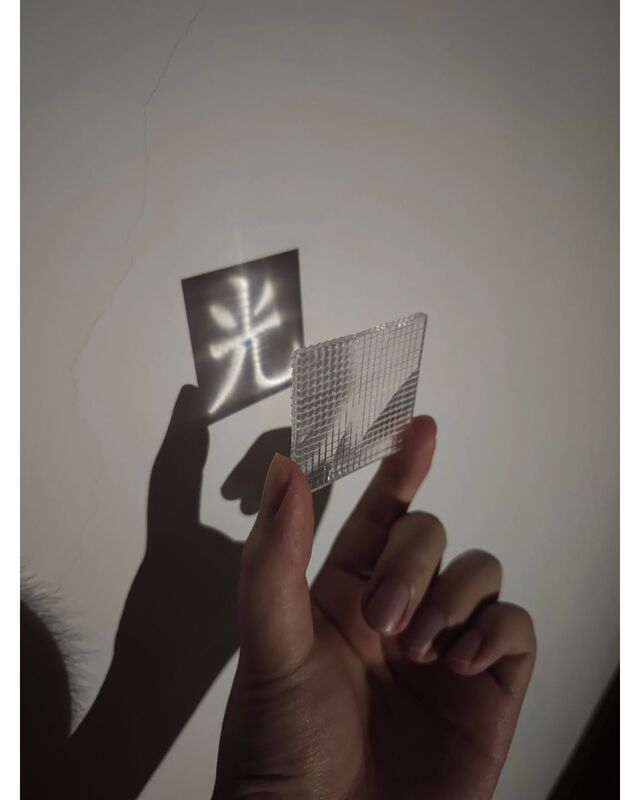
Image credit: PolyForge
How it works
Light passes through the flat back unbent and leaves through a field of tilted facets. Each facet is a tiny prism aimed at one point, so the square of light the lens would have cast is gathered into the strokes. That is why the lens throws a dark square shadow with the glyph glowing inside it, why strokes look like strings of beads, and why faint streaks radiate out (light clipping the little risers between facets).
Printing it in clear resin
- Flat back on the build platform, no supports, 25 µm layers. The facets build last, away from the tank.
- Wash, then wet-sand and polish only the flat back.
- Coat the facet side. Raw prints step the slopes into terraces, which scatter light. Brush or dip a thin film of the same clear resin, let it level face-up, then post-cure. Repeat once if the dots look hazy.
- Hold it flat side to the light, facets toward the wall, the +Y edge up.
Casting instead
Print mould.stl, seal its cavity with a thin cured coat of resin and mould release, then pour clear epoxy up to the step in the rim. The free surface self-levels into an optically flat back. For many copies, pour silicone over a printed and coated lens.stl and cast epoxy into that. Set the material to epoxy before exporting.